Enabling Google Authenticator for SSH Logon on Linux Server
本文最后更新于 2025年2月25日 下午
Enabling Google Authenticator for SSH Logon on Linux Server
This guide explains how to set up Google Authenticator for Two-Factor Authentication (2FA) on a Linux server for SSH logon.
Prerequisites
- A Linux server (Ubuntu/Debian/CentOS, etc.)
- SSH access to the server
- A smartphone with the Google Authenticator app installed
Steps
1. Install Google Authenticator PAM Module
For Ubuntu/Debian-based systems:
1 | |
For CentOS/RHEL-based systems:
1 | |
2. Configure the PAM (Pluggable Authentication Modules)
Edit the PAM configuration file for SSH:
1 | |
Add the following line to the file:
1 | |
3. Configure SSHD to Allow PAM Authentication
Edit the SSH configuration file:
1 | |
Make sure the following settings are configured:
ChallengeResponseAuthentication should be set to
yes:1
ChallengeResponseAuthentication yesUsePAM should be set to
yes:1
UsePAM yes
4. Restart the SSH Service
After modifying the SSH and PAM configuration files, restart the SSH service for the changes to take effect:
1 | |
5. Set Up Google Authenticator for Your User
Run the following command as the user you want to set up 2FA for:
1 | |
This will trigger a series of prompts:
- Do you want authentication tokens to be time-based? (Yes)
- Do you want to update your “~/.google_authenticator” file? (Yes)
- Do you want me to disallow multiple uses of the same token? (Yes)
- Do you want to increase the verification time window? (Yes)
It will then generate a QR code and show secret keys. Scan the QR code with the Google Authenticator app on your smartphone.
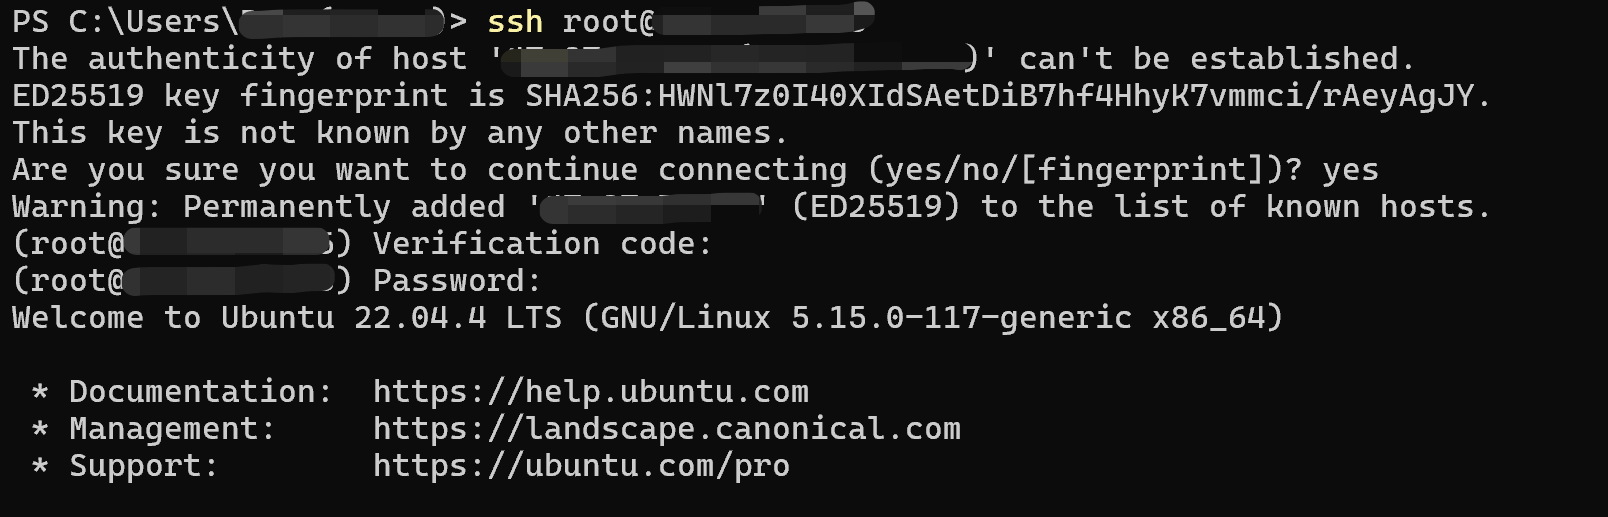
6. Testing the Setup
To test, open a new SSH session and log in. You will be prompted for:
- Your regular password.
- A verification code from your Google Authenticator app.